When I'm cleaning out my closet, I try only to get rid of clothes that don't fit me past the point of no return. If pants are too short, I roll them up, if a skirt is an unflattering length, I shorten it.
I bought this cardigan last semester but never wore it because I already owned a blue cardigan. It was too late to return it, so I miserably kept it in my closet, knowing I wouldn't be wearing it any time soon.
And then I was inspired to do some potato printing from
this post from J&L's blog. What better way to turn a boring cardigan into something fun?

Cardigan: Old Navy, Cami: Hollister, Shorts: Hollister, Shoes: Target

Now I have a pile of things to reconstruct on my desk. I have a lot of crafting (and printing) to do!

I do my crafting spontaneously, so I when I feel like doing it, I just go for it, and I almost always forget to take before and after pictures, let alone pictures of the process, but this was an exception! Just before I was past the point of no return, I quickly snapped some pictures so that I could show you how easy potato printing is!
Supplies:
Paint. Preferably acrylic paint, but use whatever you got, it’s DIY.
Paintbrush. A narrow brush is best if your design is small.
Potato
Newspaper
Toothpick
Knife
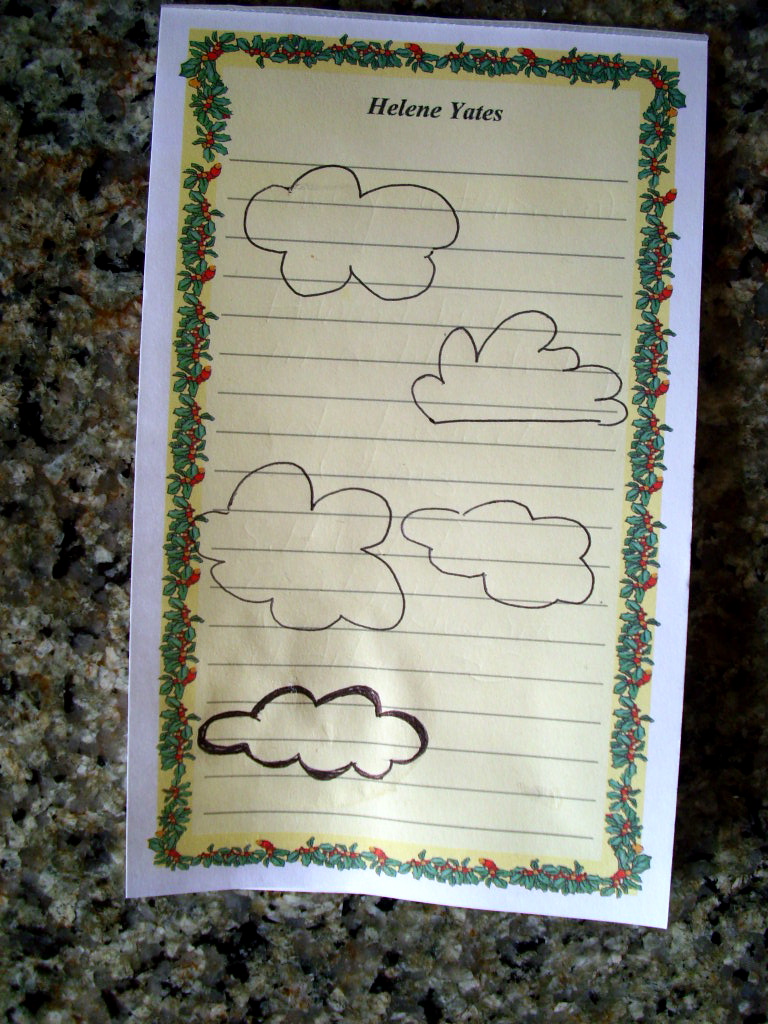
Step 1: Lay out newspaper and your fabric item. Then sketch your design so you have a good idea how to go about transferring it onto the potato.
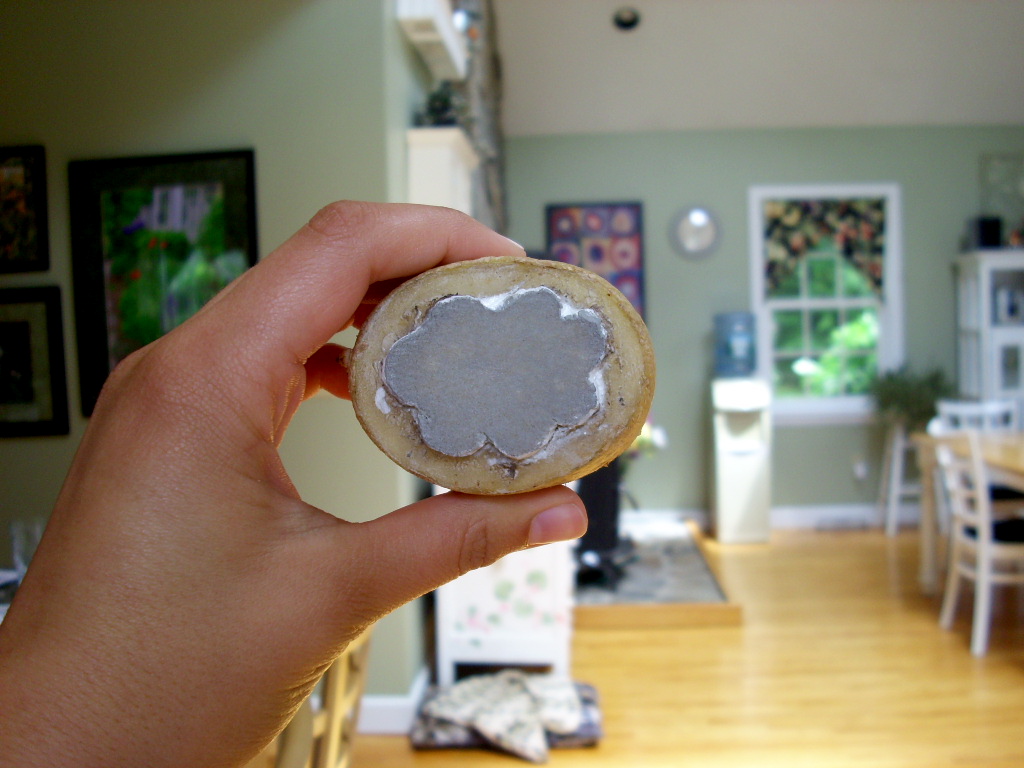
Step 2. Using a toothpick, etch out your design in the potato. Go over the outline a couple of times so you can see your design clearly, each time digging your toothpick deeper into the potato.
Step 2 1/2. If you mess up (which I did), just cut that slice of potato off and start over. Aren’t potatoes great?
Step 3. Using your knife, cut a couple millimeters into the potato around your design. If you etched your design in deep enough, the slice should just fall off, revealing your design, raised like a stamp. You can fix it up too. Make sure the design is really defined otherwise it will look like a blob if you try to apply it to fabric.
Step 4. Make sure you’ve got newspaper laid out, and also make sure you have newspaper between the fabrics you are about to stamp. (For example, I put a piece of newspaper inside of the cardigan so that the paint didn’t bleed through to the back.) Put a layer of paint on your potato stamp, and then stamp away!
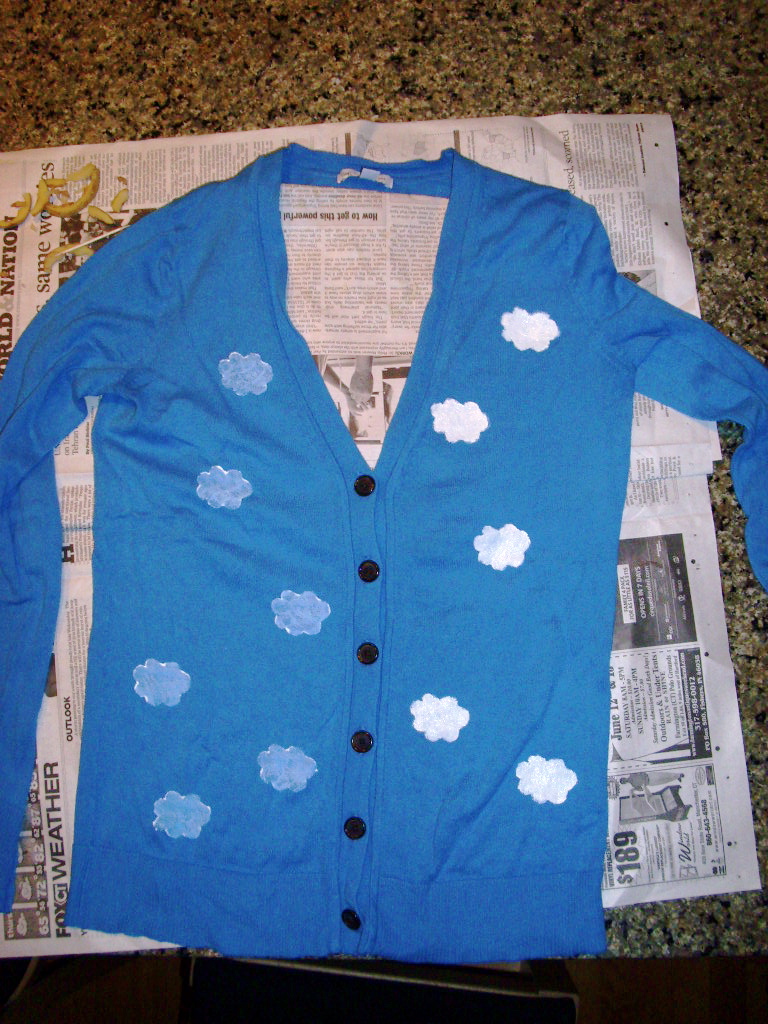
Step 5. Once your first layer of paint has dried, fill it in with your paintbrush. I had to do two more coats to get the shade I wanted.

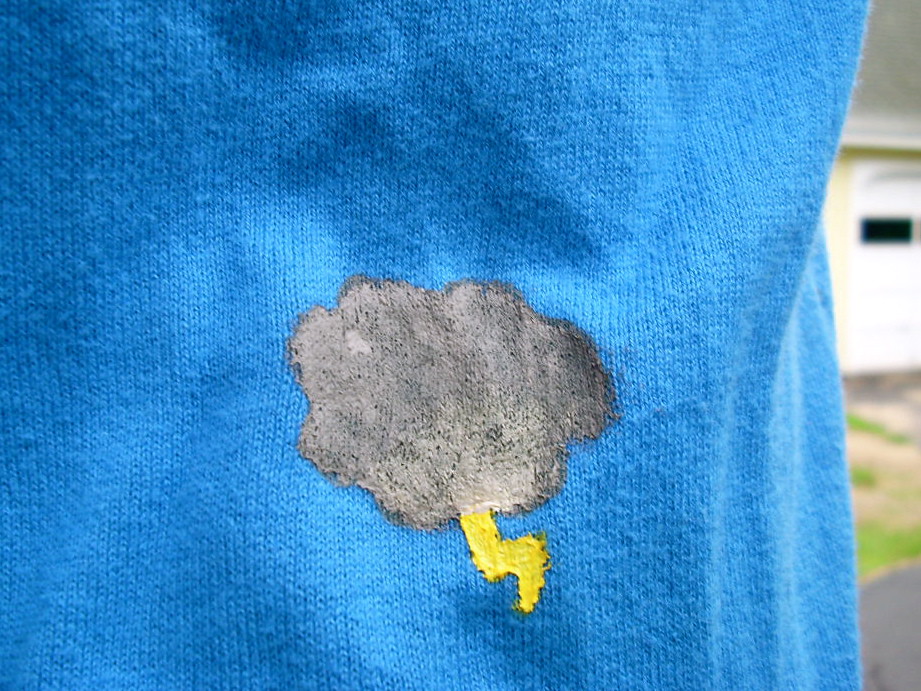
Step 6. Let it dry and then wear your beautiful creation out on the town!
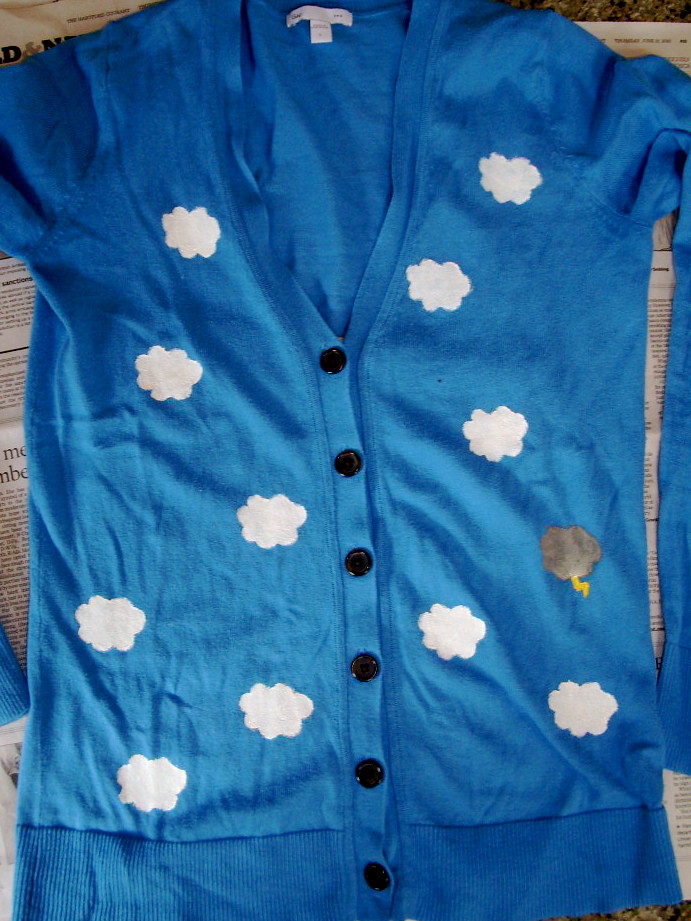
I had to add a thundercloud into the mix, it's very reflective of the weather we've been having in the northeast lately.
I will definitely be potato printing more in the future, it's so easy to do.
Hope you found this little tutorial helpful!


Super cute! And what a great idea to recycle your own clothes. I also love the extra pop of color the shoes bring.
ReplyDeletehttp://the-not-so-secret-loves-of-bri.blogspot.com/
This is FANTASTIC, Melanie. I really love it. I think I would have loved the cardi anyway, but what you did to it is lovely and so fun.
ReplyDeleteI'm definitely featuring this post on my weekly "Things I Like" next Sunday! :-)
thank you very much!!
ReplyDeleteAww this is cute! Great idea
ReplyDeletewell that's just about the cutest, happiest, use of clouds I've ever seen!
ReplyDeletewow so cute! i want to have a go at this now :) x
ReplyDelete